Tabby is an open-source, self-hosted AI coding assistant. With Tabby, every team can set up its own LLM-powered code completion server with ease.
In this guide, you will learn how to deploy your own Tabby instance and use it for development directly from the Hugging Face website.
Your first Tabby Space
In this section, you will learn how to deploy a Tabby Space and use it for yourself or your orgnization.
Deploy Tabby on Spaces
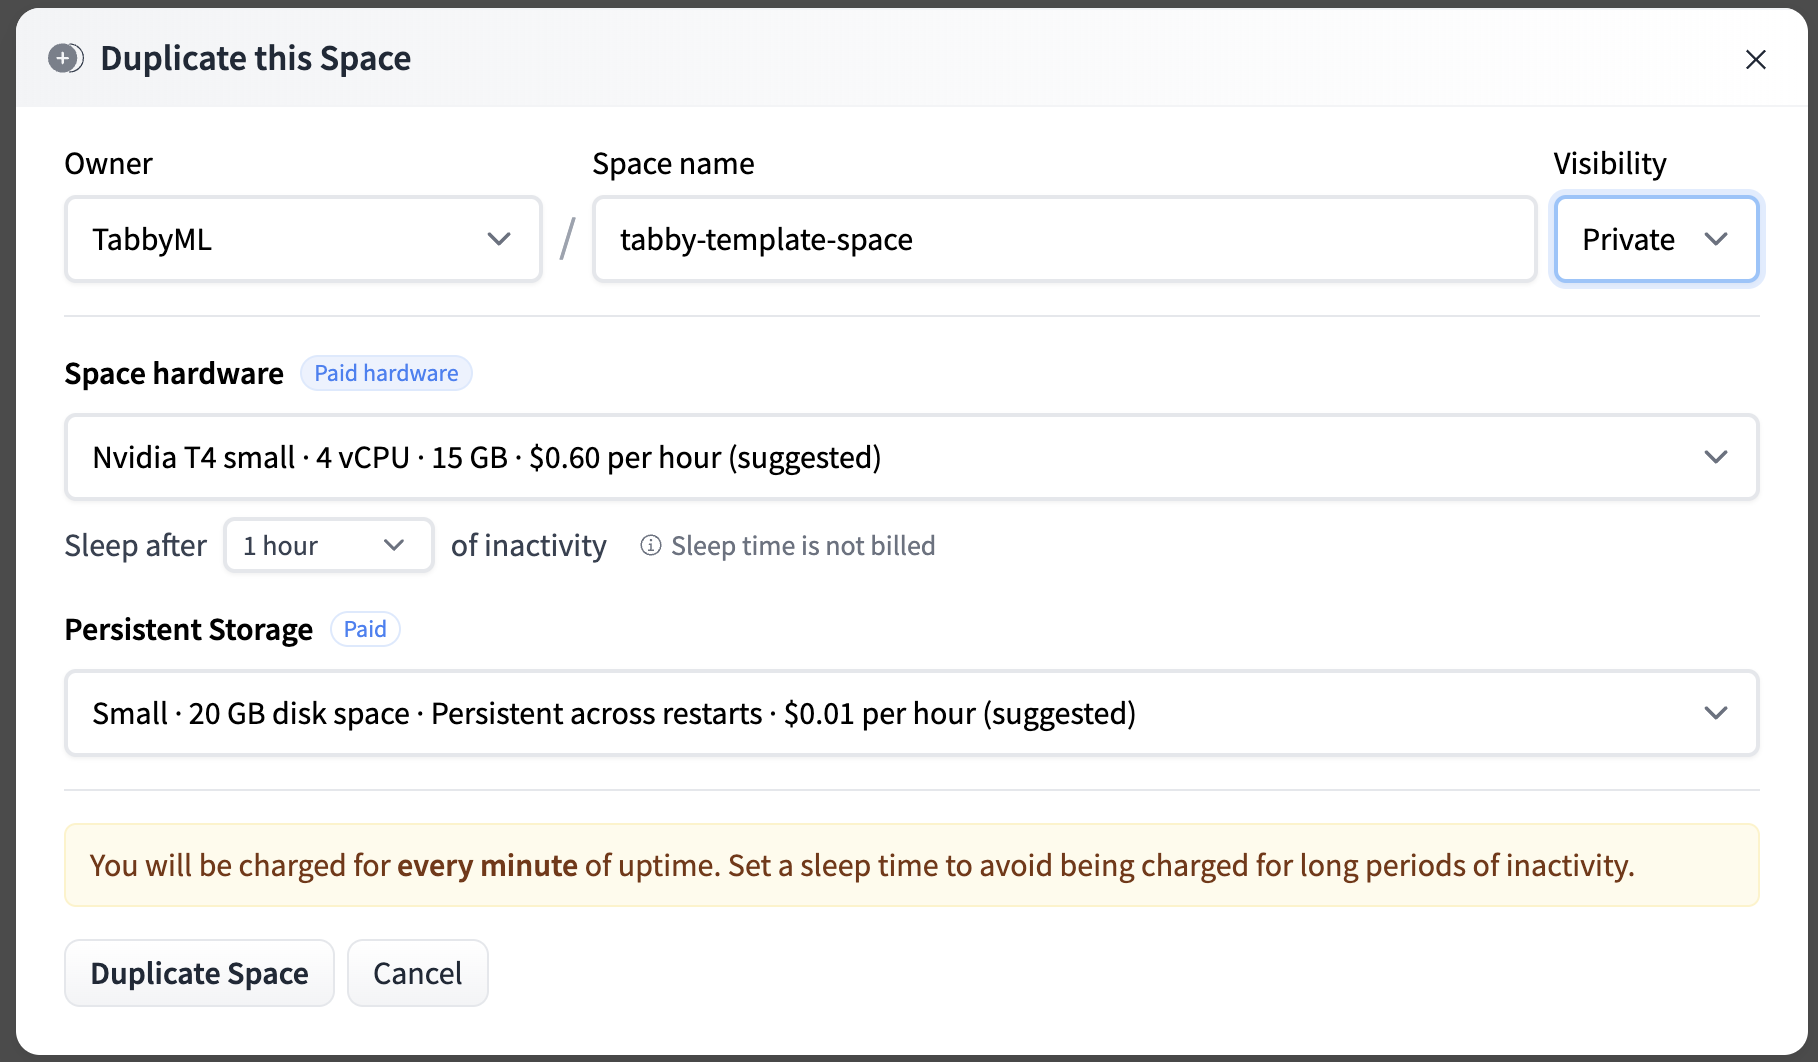
You can deploy Tabby on Spaces with just a few clicks:
You need to define the Owner (your personal account or an organization), a Space name, and the Visibility. To secure the api endpoint, we’re configuring the visibility as Private.
Duplicate Space
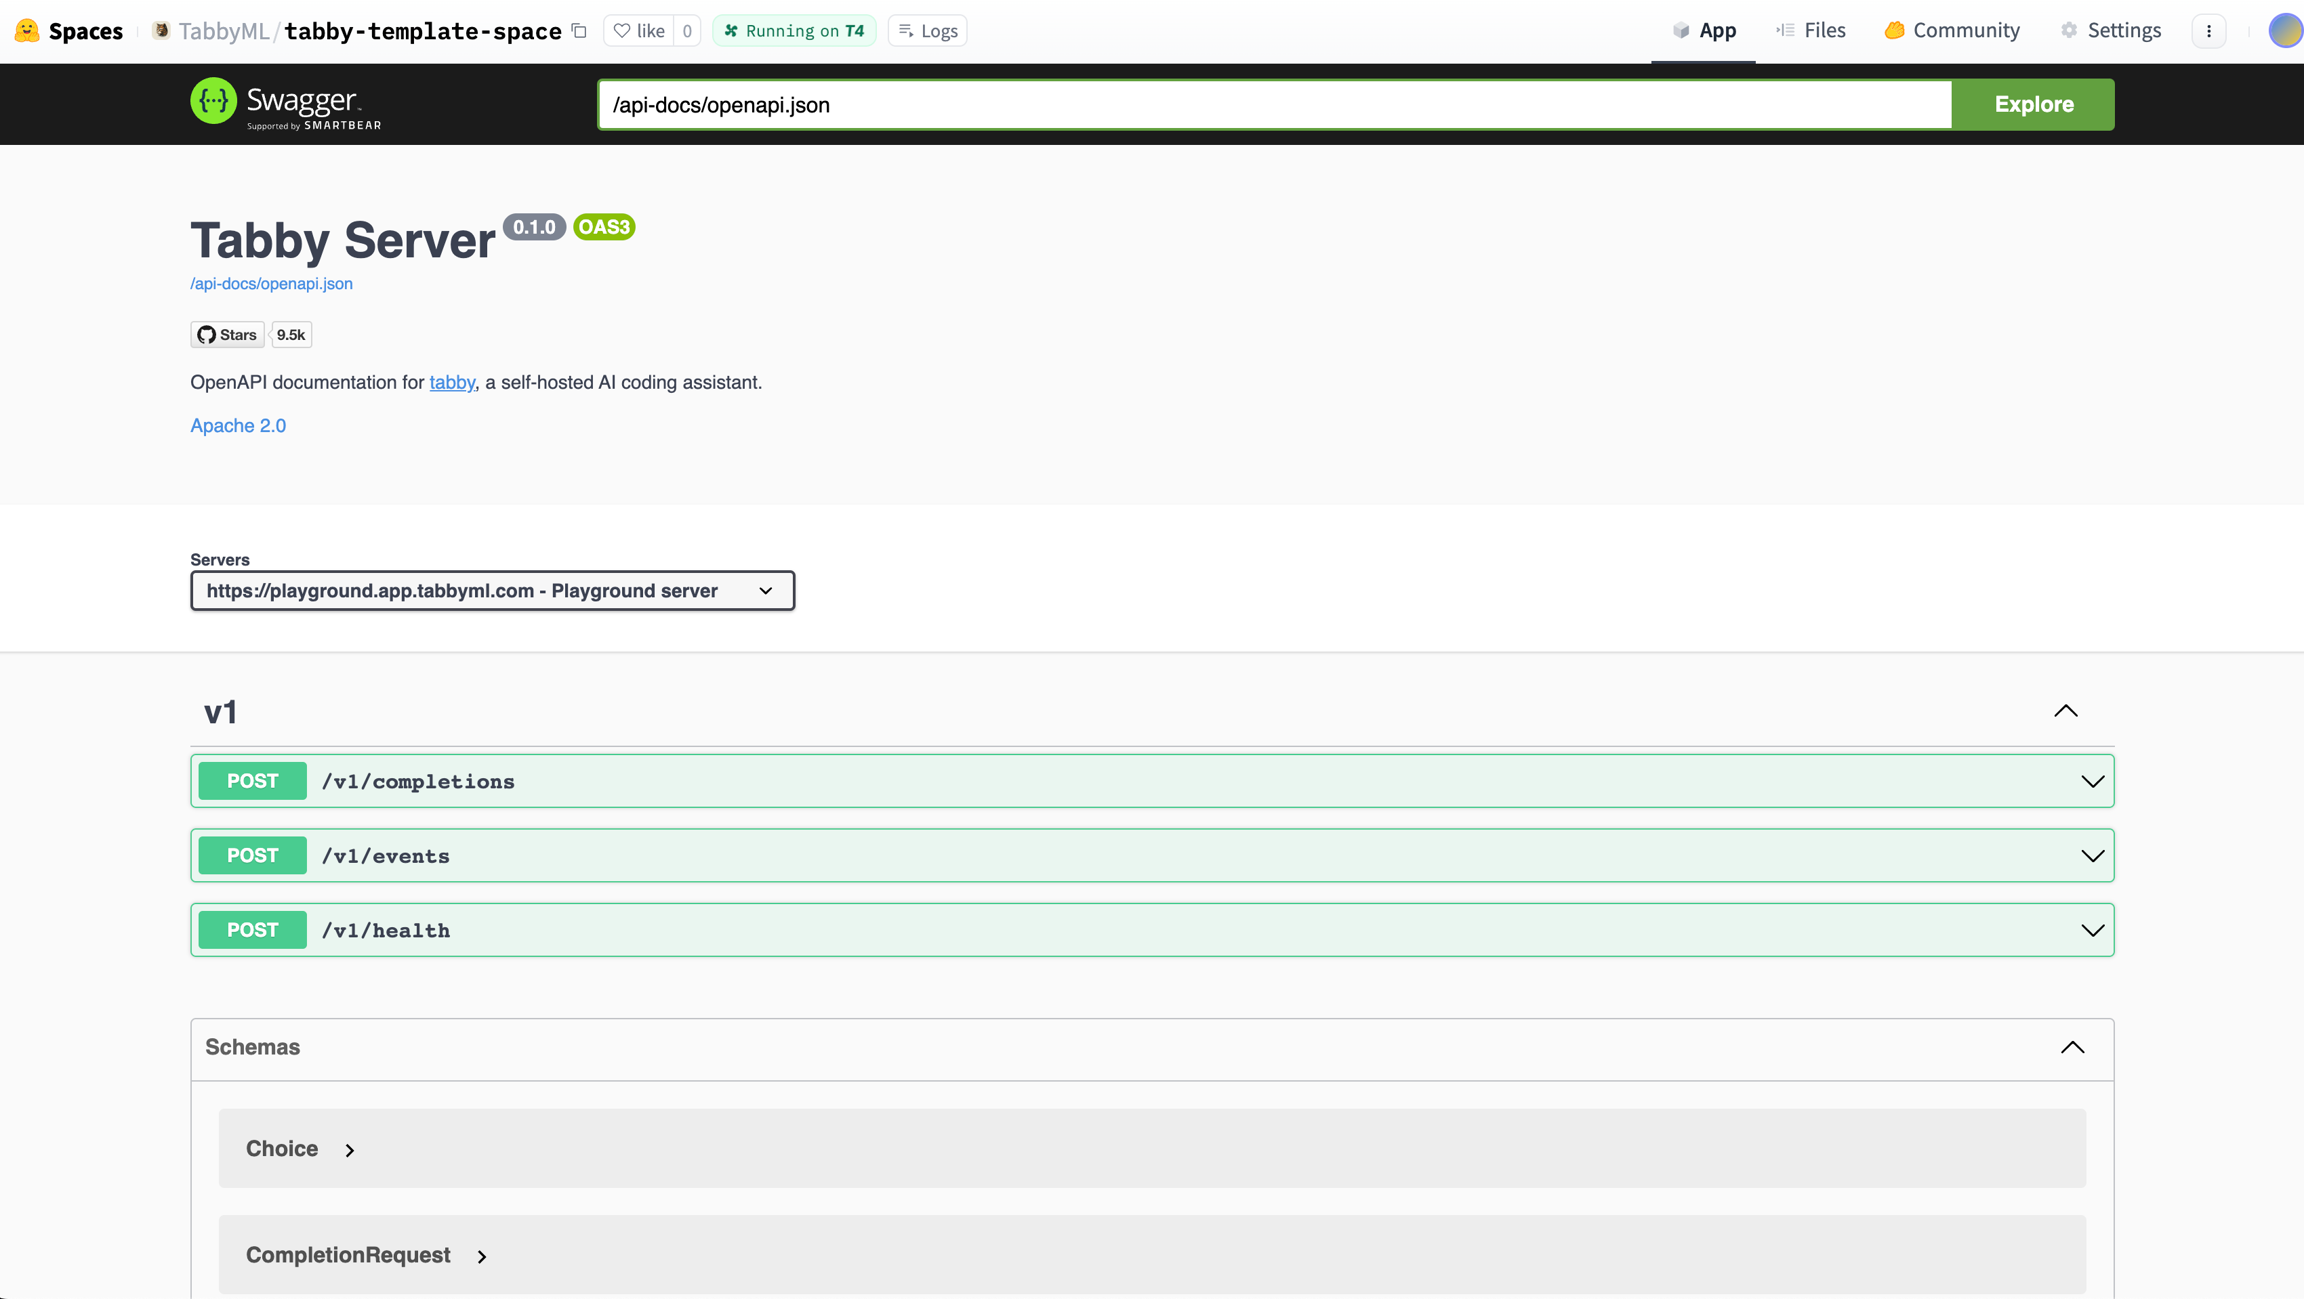
You’ll see the Building status. Once it becomes Running, your Space is ready to go. If you don’t see the Tabby Swagger UI, try refreshing the page.
Swagger UI
If you want to customize the title, emojis, and colors of your space, go to “Files and Versions” and edit the metadata of your README.md file.
Open the file located at ~/.tabby-client/agent/config.toml. Uncomment both the [server] section and the [server.requestHeaders] section.
Set the endpoint to the Direct URL you found in the previous step, which should look something like https://UserName-SpaceName.hf.space.
As the Space is set to Private, it is essential to configure the authorization header for accessing the endpoint. You can obtain a token from the Access Tokens page.
Agent Config
You’ll notice a ✓ icon indicating a successful connection.
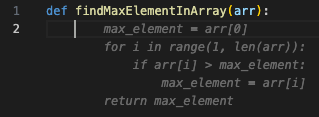
You’ve complete the setup, now enjoy tabing!
Code Completion
You can also utilize Tabby extensions in other IDEs, such as JetBrains.